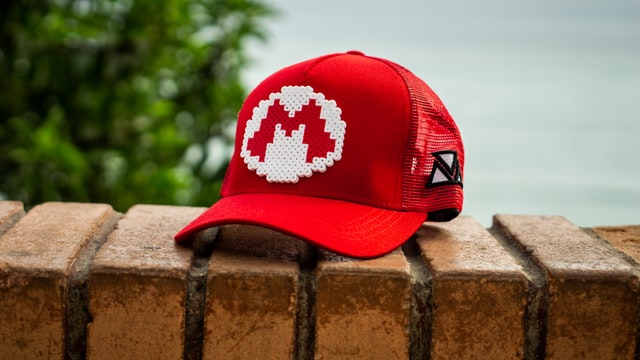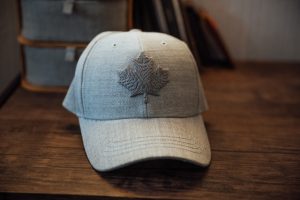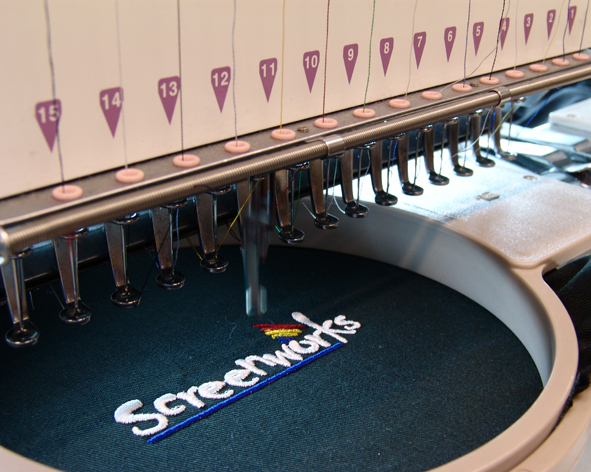
Its not always easy as you may think it is. Digitizers and Embroiderers really fall into problems while performing cap embroidery digitizing unless they really know what they’re doing. There are two types of caps commonly known as structured caps and unstructured caps.
Structured Caps

While doing embroidery digitizing on structured caps also known as six panel caps, two rules should be followed for effective embroidery. First, the design should start from the bottom of the cap and secondly should begin from the center and move to left & right parts of the design.
Embroidering on caps done this way is termed as center out. By doing in this sequence we can reduce the pull and push effect. Embroidering on structured caps is easier than on unstructured caps as a stiff, supportive fabric inside the structured cap helps it hold its shape.
One very important issue in structured caps is that there is a seam down in the middle causing the thread to fall in the center seam. We can avoid such situation by digitizing a horizontal thread line on the seam and then placing the design over the seam which now will not fall into the seam. In this technique it is important that the design has been centered. However cleaning the seam up is another job itself.
Un-Structured Caps

Five panel and unstructured caps are not bound by the center out rule. The reason is that they are easily griped in the cap frame and can embroider as a flat. Unstructured cap has a natural low sloping crown style; no buckram is added to the crown. The fabric of unstructured caps shifts more during the sewing process on machine because it does not have any stiff fabric underneath.
Design size on Caps
Sizing on caps have some limitations. Most commonly used size on caps front is 2.5 inch high x 5 inch wide. Whereas maximum suitable size on caps is 2.75 inch high x 5.5 inch wide. Going beyond that will have some sewing issues.
Maximum size on back of cap is 1.5 inch high x 2.5 inch wide whereas is the text is in arch shape then digitizing text should be 0.5 inch high x 4.25 inch wide. Logo or text can also be embroidered on caps side. The size should not be more than 1 inch tall x 2.5 inch wide. When submitting an order for cap embroidery digitizing, its good to follow these guidelines.
Likewise visors also have some limitation in sizing. The working space on visors is very small. The suitable size for visors is 1inch to 1.25 inch high x 4 inch wide.
3D Puff aka Raised Embroidery
3D or PUFF embroidery is a simple and unique technique to use foam under embroidery digitizing which raises the design or letters and gives the impression of 3D. 3D foam gives your designs a complete creative boost. This type of cap embroidery digitizing is usually used on baseball caps, sporty hats and alike. But not all designs or letters can be 3D raised. Too much wide or smaller designs cannot be converted into PUFF, same rules applies for letters.
The cover stitch is used to cut the foam, resulting a high density satin stitch. One important thing should be kept in mind, to always use a suitable foam material in puff embroidery. As the excess foam has to be removed after the stitch out and if the foam is strong or stiff, it will be difficult to remove and can damage the embroidery.


